Overview
PickPack is a Magento 2 pick and pack PDF extension that replaces the built-in PDF printing with a fully customisable document generation system. From the Orders grid, select any set of orders and generate branded invoices, packing sheets, combined picklists, Zebra labels, return forms, and more - individually or in batch.
This module helps you:
- Generate professional, branded PDF documents for any order or batch of orders without leaving the admin
- Run warehouse picking workflows with combined picklists, product-separated lists, and out-of-stock alerts
- Print address and product labels directly to Zebra thermal printers
- Attach PDF invoices or packing sheets automatically to transactional emails
- Speed up batch printing with pre-built PDF caching so high-volume batches open instantly
When to use this
Use PickPack when you want to:
- Replace Magento's default PDF invoices with branded, well-formatted documents
- Give warehouse pickers a single-page combined picklist covering all orders in a batch
- Print thermal Zebra labels for shipping or product identification at pack time
- Automatically include a packing sheet or invoice in every customer shipment email
- Split picklists by product attribute or inventory source so different warehouses or teams each get their own document
Key capabilities
- Invoices and packing sheets - generate per-order or batch PDFs with your logo, custom address format, and product columns
- Multiple picklist formats - combined, order-separated, product-separated, and filtered picklists for different warehouse layouts
- Zebra thermal labels - address labels, product labels, packing sheets, and product lists formatted for Zebra printers
- Return and credit memo documents - returns sheet and credit memo PDFs with one-click access from the Orders or Credit Memos grids
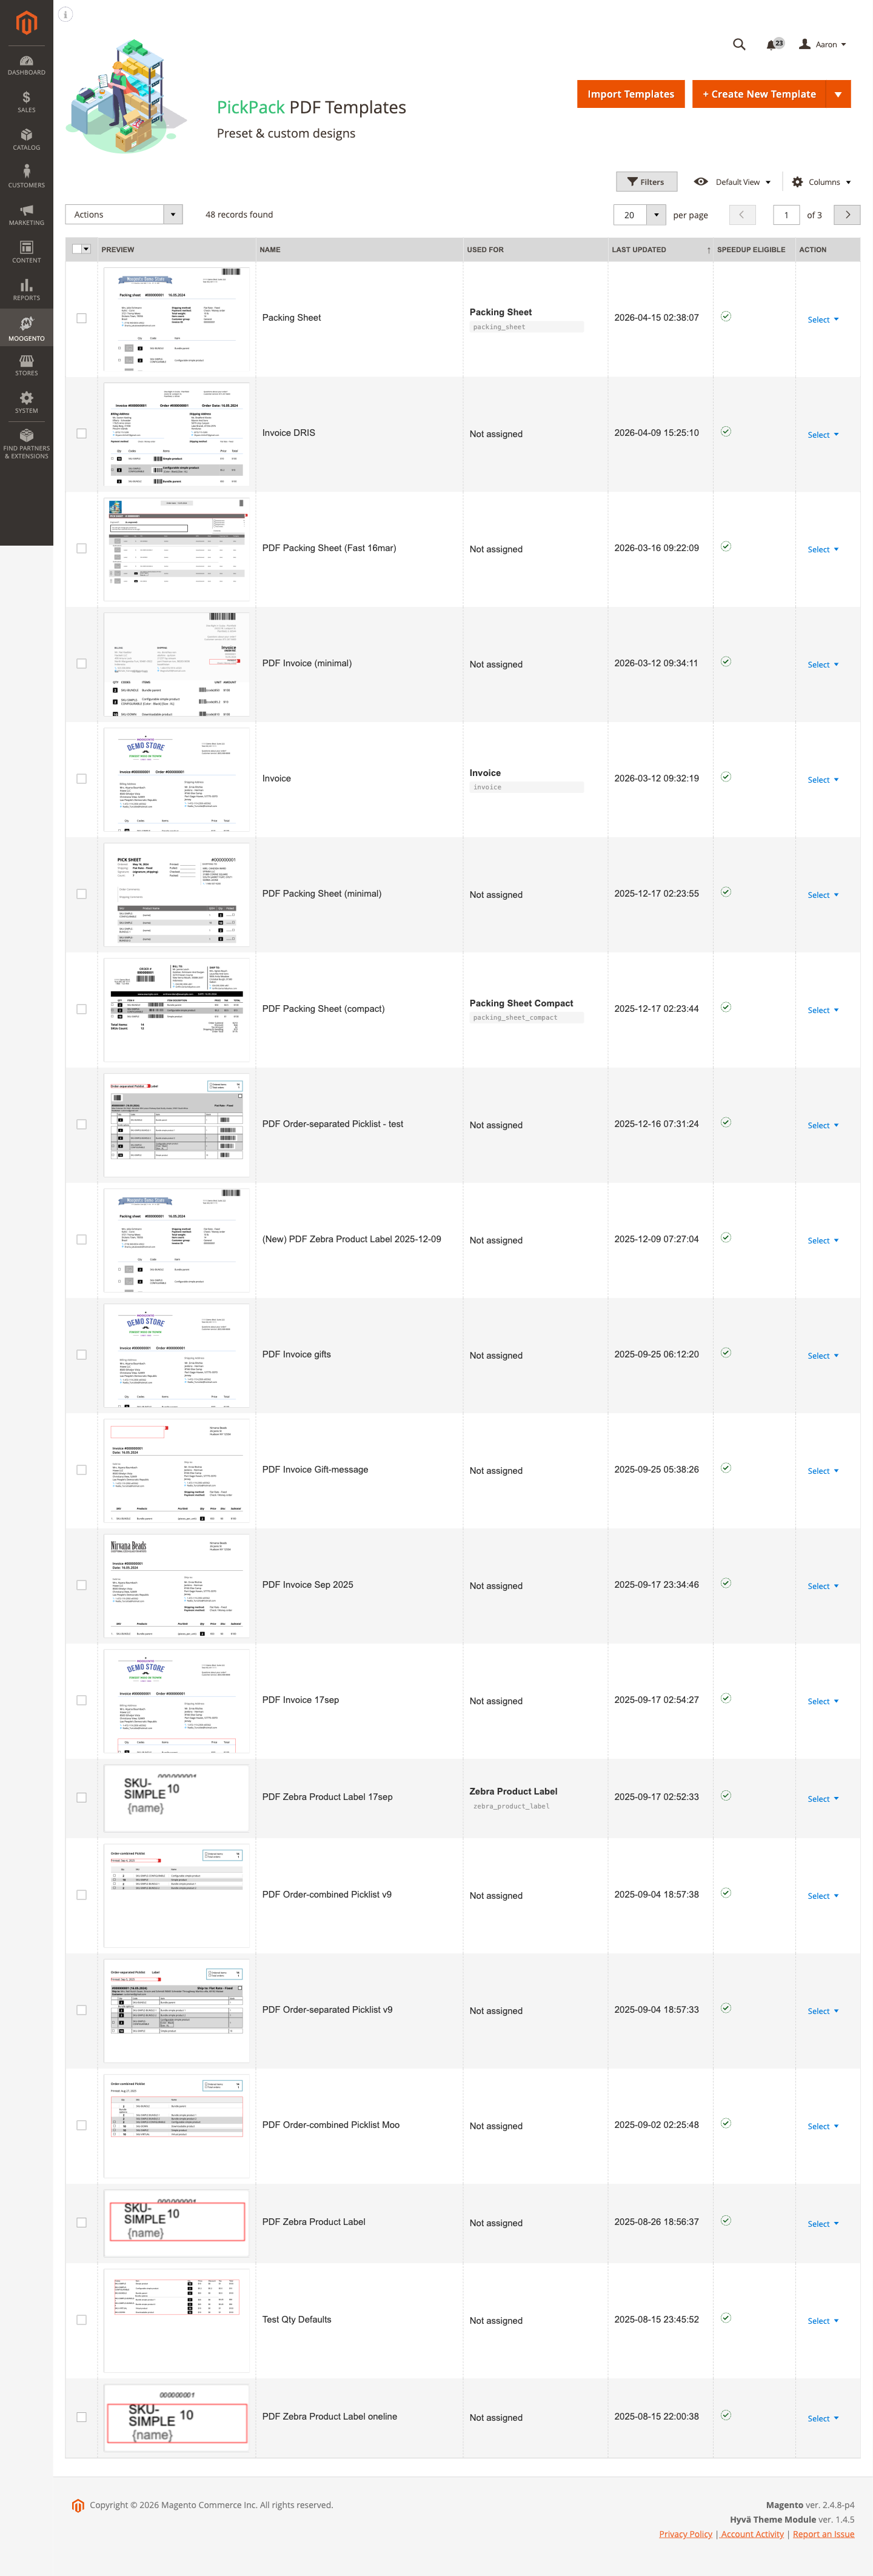
- PDF template editor - create, duplicate, and customise templates from PickPack > PDF templates in the admin; assign each document type its own template
- Barcode support - embed barcodes in any template; SVG (crisp, scalable) or PNG (GD/Imagick) output
- Speedup cache - pre-render PDFs via cron so batch jobs return instantly
- Customer-facing PDFs - optionally expose invoice and packing sheet download buttons in customer accounts
- Smart page backgrounds - match a background image to an order attribute or source (Growth/Pro plan)
- Shipping method callout images - automatically print a carrier logo or callout on documents that match a shipping method
Installation
PickPack installs via Composer, then activates with a license key from your Moogento.com account. The whole flow takes about 5 minutes.
Step 1: Get your Composer keys from Moogento.com
- Sign in at https://www.moogento.com and open My Plugins in your account menu.
- Find PickPack in the list of plugins you own.
- Generate (or reveal) the Composer access keys for that plugin - a public key and a private key.
- Add your install domain to the key. Each Composer key is tied to a specific domain - if you're installing on
yourstore.com, addyourstore.comto the key's allowed domains. The Composer download will be rejected on any other domain.
If you run staging and production on different domains, add both - separate keys per environment are fine too.
Step 2: Install the module with Composer
From your Magento 2 root directory:
composer require moogento/module-pickpack
When Composer asks for credentials, paste the public key as the username and the private key as the password. They'll be cached in ~/.composer/auth.json for future runs.
Step 3: Enable the module in Magento
php bin/magento setup:upgrade
php bin/magento setup:di:compile
php bin/magento cache:clean
If you run php bin/magento module:status Moogento_PickPack you should see it listed as enabled.
Step 4: Add your license key in the Moogento admin
- Still on https://www.moogento.com > My Plugins, copy the license key for PickPack (separate from the Composer keys you used above).
- In your Magento admin, go to Stores > Configuration > Moogento > Licenses.
- Find the row for PickPack and paste the license key.
- Click Save Config, then run
php bin/magento cache:cleanonce.
The license validates within a few seconds. You should see the module's status flip to active. If it stays inactive, double-check the domain on the license matches where you've installed - domain mismatch is the most common cause.
Setup overview
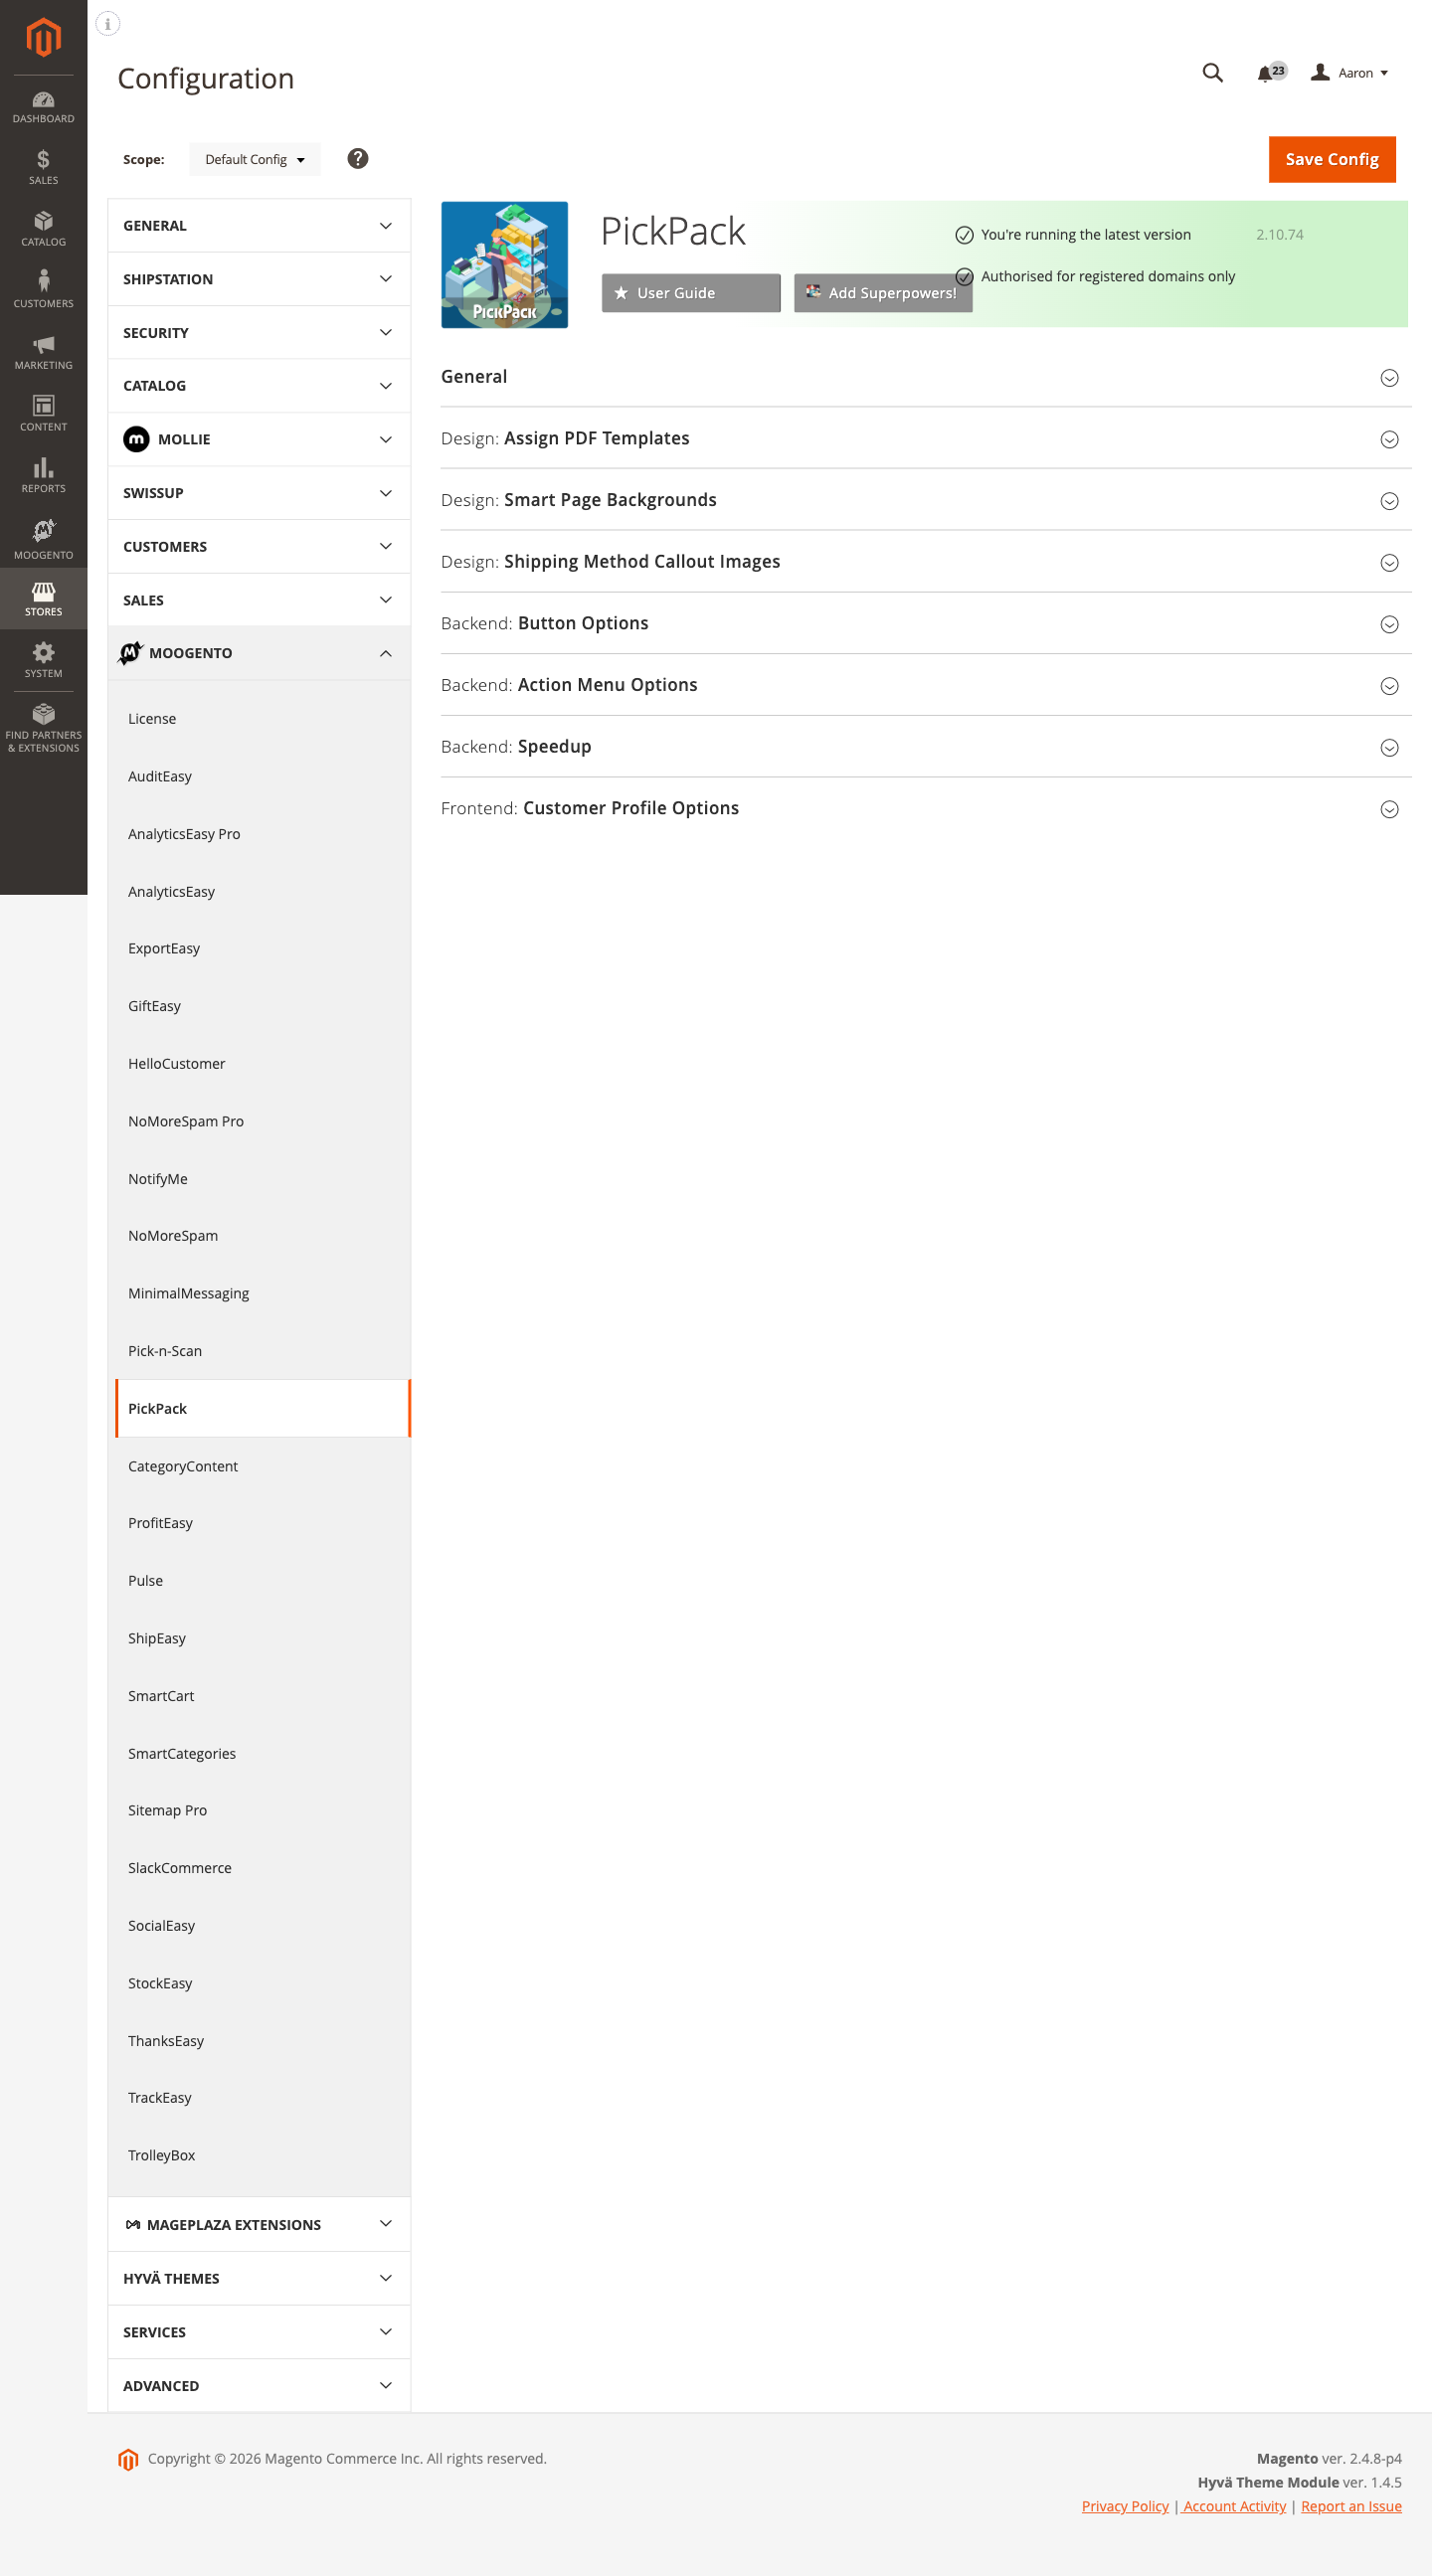
Most setup happens in:
Stores > Configuration > Moogento > PickPack
You'll mainly work with:
- General - date formats, barcode settings, address format, print-once, email attachment, and logging
- Design: Assign PDF Templates - map each document type (invoice, packing sheet, picklist, Zebra label, etc.) to its template and configure its filename and order-comment behaviour
- Design: Smart Page Backgrounds - upload background images matched by order attribute or source
- Design: Shipping Method Callout Images - upload carrier images matched by shipping method
- Backend: Button Options - choose which PDF buttons appear on the Order Detail, Invoice, Shipment, and Credit Memo detail pages
- Backend: Action Menu Options - choose which PDF actions appear in the Orders, Invoices, Shipments, and Credit Memos mass-action menus
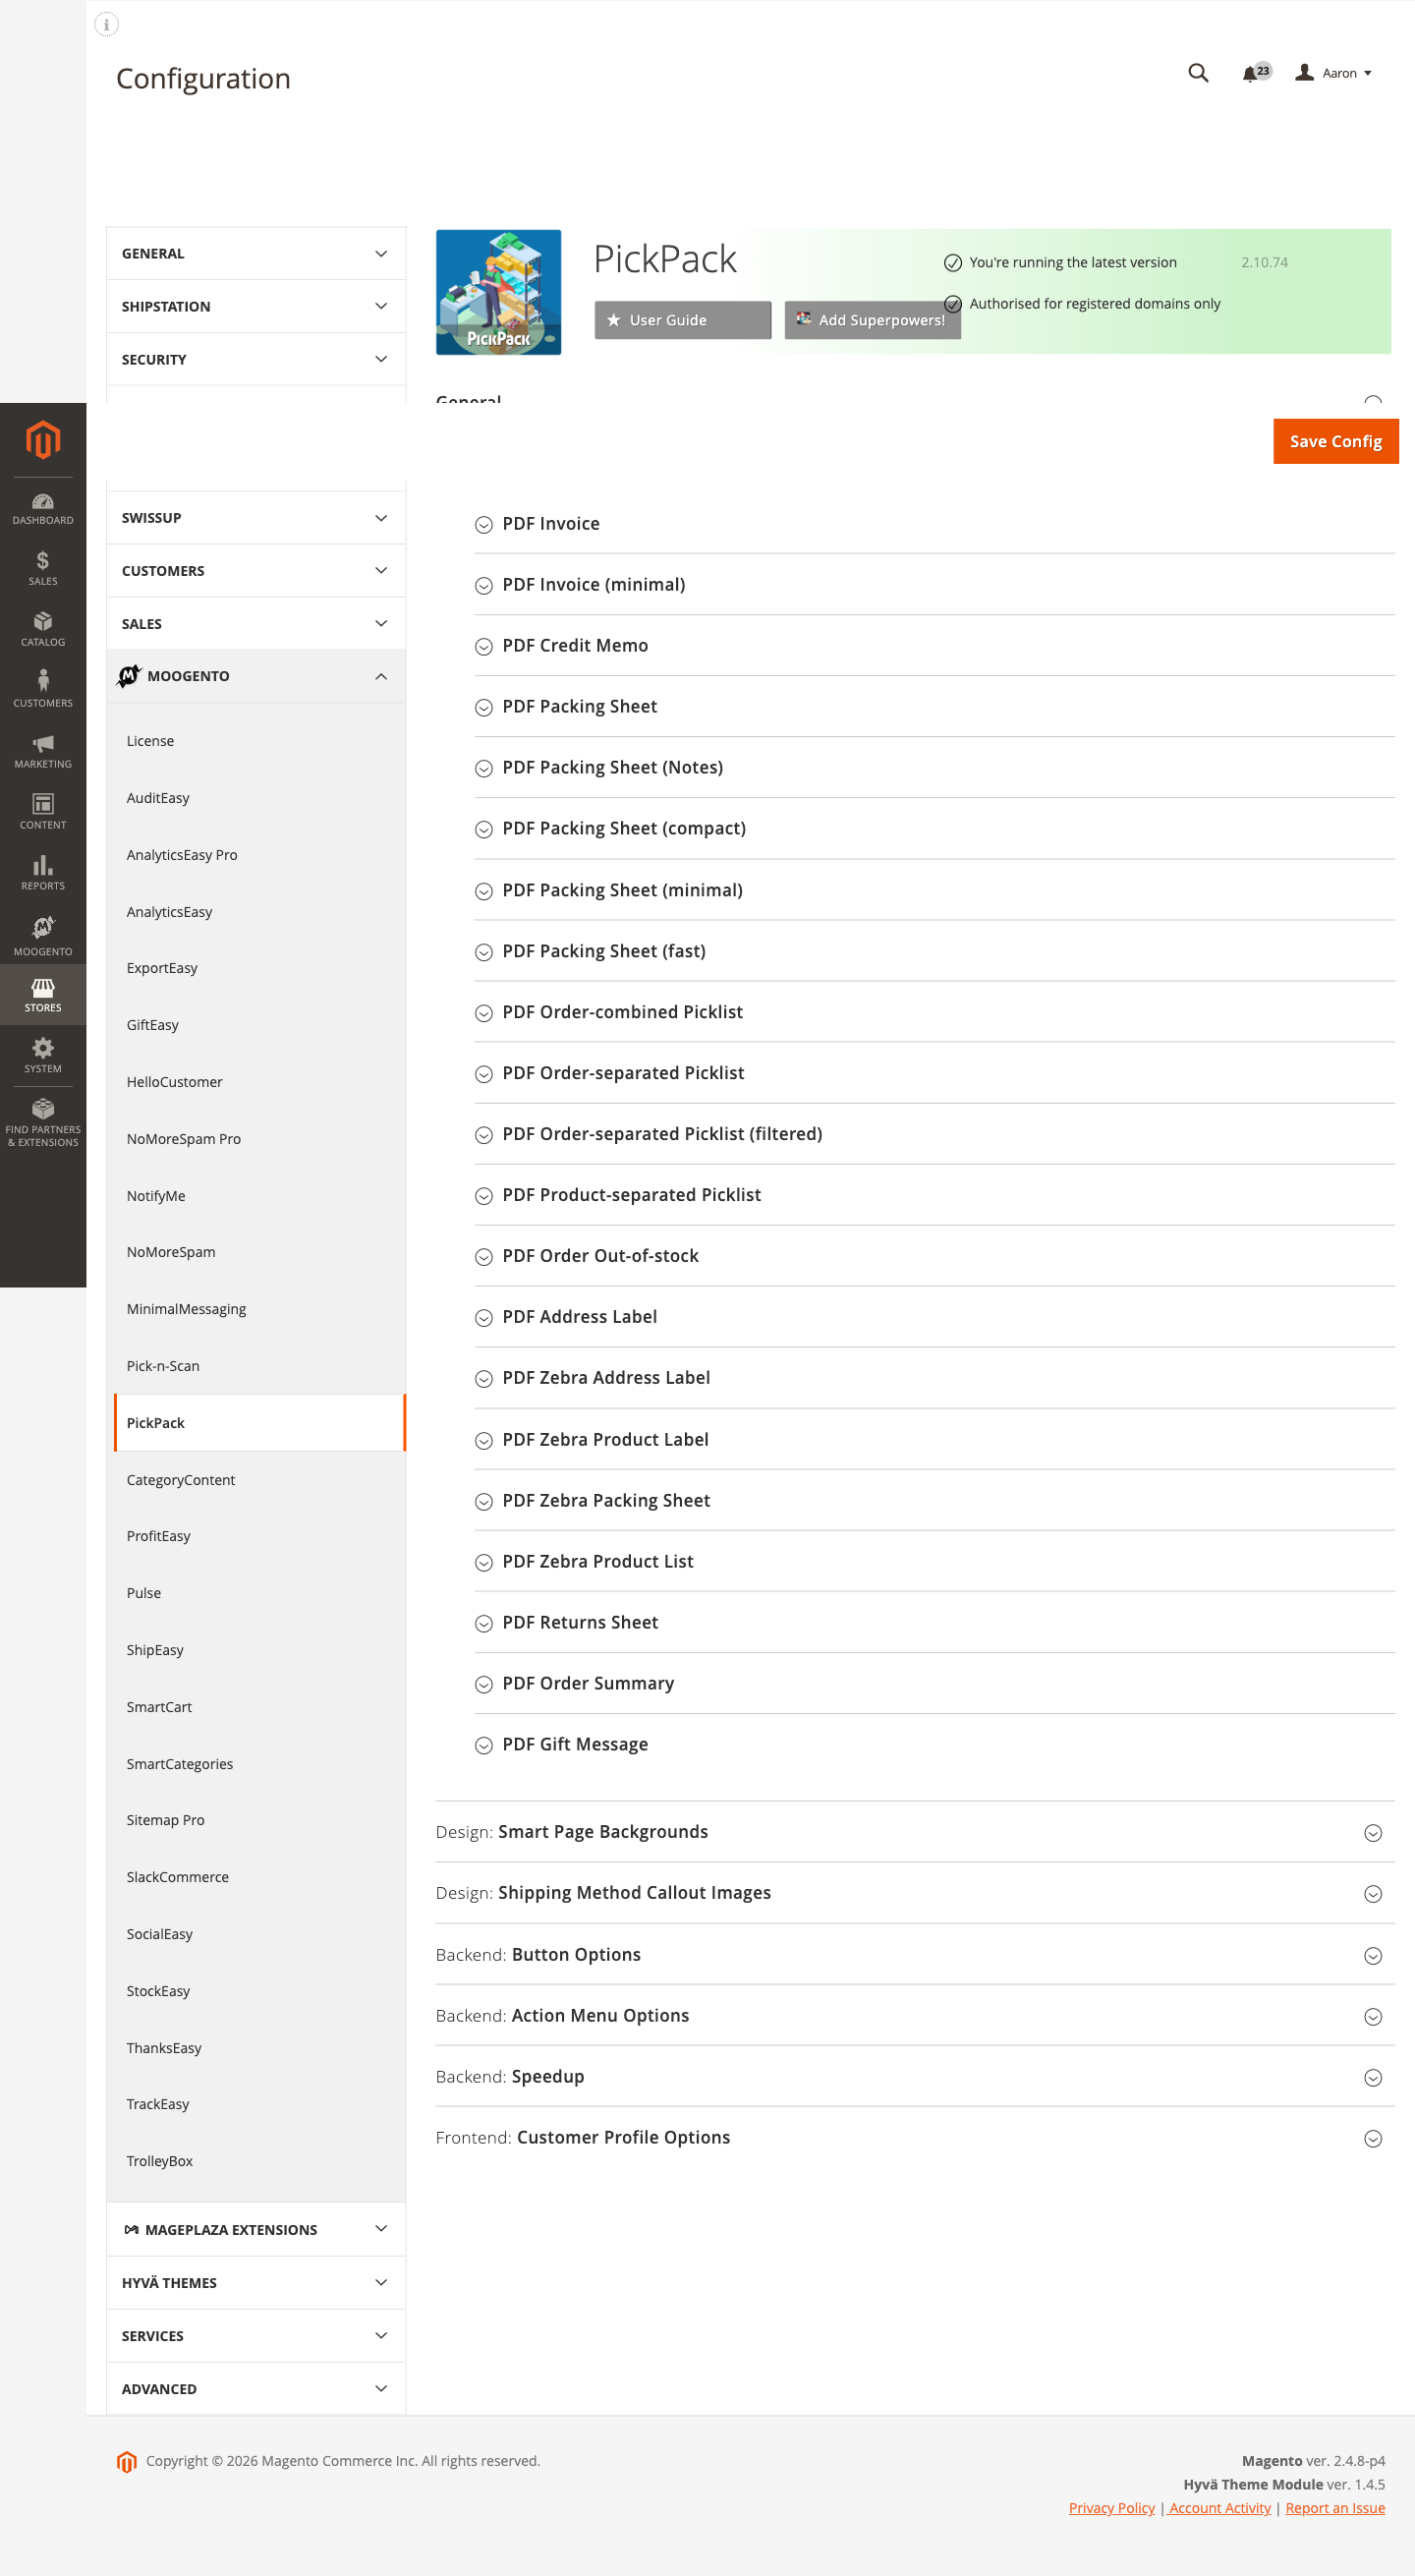
- Backend: Speedup - enable PDF caching, choose which PDF type to warm, configure cron lookback, and monitor cache statistics
- Frontend: Customer Profile Options - allow customers to download their own invoice and packing sheet PDFs
- Custom: Integrations Setup - register custom inventory location or POS source classes for bespoke warehouse integrations
Common setups
Assign a branded template to your invoices
The first thing most stores do after installation is replace the default Magento PDF invoice with a PickPack-branded version.
How to set it up
- Go to PickPack > PDF templates and create (or duplicate) a template. Set your logo, column layout, and colours.
-
Go to: Stores > Configuration > Moogento > PickPack > Design: Assign PDF Templates > PDF Invoice
-
Set:
- Template = your new template name
- Output filename =
invoice_(or any prefix you prefer) - Include Order ID in filename = Yes (recommended)
- Add an order comment when creating this PDF? = Yes
-
Save config.
Notes
- Each document type (Invoice, Packing Sheet, Picklist, etc.) has its own sub-group under Design: Assign PDF Templates. Assign templates independently.
- The
moogento_pickpack/pdfs/invoice/templatepath controls this setting. - Changes take effect immediately for the next print job; no cache flush required.
Generate a combined picklist for a batch of orders
Use the combined picklist to give your warehouse a single document listing every item across all selected orders, sorted by product - ideal for single-picker operations.
How to set it up
-
Go to: Stores > Configuration > Moogento > PickPack > Design: Assign PDF Templates > PDF Order-combined Picklist
-
Set:
- Template = your picklist template
- Show orders for different stores on different pages? = Yes (if multi-store)
-
Save config.
-
Go to: Stores > Configuration > Moogento > PickPack > Backend: Action Menu Options > Orders
-
Enable PDF (Order-combined Picklist) with the toggle switch.
-
Save config.
-
In the Orders grid (Sales > Orders), select the orders you want to pick, open the Actions menu, and choose PDF (Order-combined Picklist).
Notes
- The split-by-attribute or split-by-source feature (General group) lets you automatically generate separate picklists per warehouse or product attribute - requires a Pro plan.
- The
moogento_pickpack/pdfs/combined/templatepath controls the template assignment.
Attach a packing sheet to shipment confirmation emails
Send a PDF packing sheet automatically with every shipment email so customers have a copy in their inbox.
How to set it up
-
Go to: Stores > Configuration > Moogento > PickPack > General
-
Set Enable PickPack PDFs to be attached to transactional emails? = Yes.
-
Save config, then follow the Moogento guide to add the correct variable to your transactional email templates (see the comment link in the admin field for the exact snippet).
Notes
- You must add a template variable to the email body in addition to enabling this toggle. Enabling the toggle alone does not attach the PDF.
- The
moogento_pickpack/general/attach_pdf_to_emailpath controls this setting.
Speed up batch printing with Speedup caching
For stores printing 50+ orders at a time, Speedup pre-renders PDFs via cron so the batch downloads in seconds instead of minutes.
How to set it up
-
Go to: Stores > Configuration > Moogento > PickPack > Backend: Speedup
-
Set Enable Speedup = Yes.
-
Set Warmup which PDF type = the document type you print most often (e.g.
packing_sheet_fast). -
Set Order Statuses to Cache = Processing (or whichever statuses your warehouse works from).
-
Set Cache Warmup Lookback Days = 7 (default) or however many days back to scan on each cron run.
-
Optionally set Use Message Queue = Yes for high-volume stores to offload generation to queue workers.
-
Save config.
Notes
- Speedup requires cron to be running. Confirm your Magento cron is active before enabling.
- Click Process Recent Orders in this section to trigger a manual warmup immediately after enabling.
- The Show Cache Indicator toggle adds a subtle watermark to cached PDFs so you can tell which documents came from cache during testing.
- Parallel processing (requires PHP
pcntlextension) can further accelerate batch generation - configure Parallel Processing Chunk Size and Maximum Parallel Processes based on your server's CPU and memory. - The
moogento_pickpack/speedup/enabledpath controls the master Speedup toggle.
Features reference
General settings
Controls date display, address format, barcode configuration, and logging.
- Date format: PDFs (
moogento_pickpack/general/date_format) - PHP date format string used on all PDF documents. Default:M j, Y. - Date format: Filenames (
moogento_pickpack/general/filename_date_format) - Format used when dates appear in PDF filenames. Default:Y_m_d. - Date format: Timezone (
moogento_pickpack/general/timezone) - Override the timezone for PDF date/time display if server timezone differs from your store's local time. - Number of invoices to print (
moogento_pickpack/general/number_invoices_printed) - How many copies of the invoice to include when printing "Invoice and Packing Sheet". Default: 1. - Filter/split by Attribute or Source (
moogento_pickpack/general/pdf_split_by) - Generates separate picklist PDFs per product attribute value or inventory source. Requires Pro plan. - Group by store (
moogento_pickpack/general/pdf_group_by_store) - Separates combined picklist pages by store view. - Customer address format (
moogento_pickpack/general/pickpack_pdf) - Template tokens that control how shipping and billing addresses are rendered on PDFs. Supports{firstname},{lastname},{street},{city},{region},{postcode},{country},{telephone},{email}, and others. - Hide this 'country name' (
moogento_pickpack/general/hide_country) - Suppress a country name from addresses so it only appears on international orders. - Print once? (
moogento_pickpack/general/print_once) - Prevents re-printing selected PDF types for orders that have already been printed. - Enable PickPack PDFs to be attached to transactional emails (
moogento_pickpack/general/attach_pdf_to_email) - Master toggle for email attachment. Also requires a template variable in email templates. - Barcode: Output Format (
moogento_pickpack/general/barcode_format) - SVG (crisp, scalable) or PNG (GD/Imagick raster). Default: Auto. - Barcode: Maximum Height (px) (
moogento_pickpack/general/barcode_max_height) - Cap on barcode height. Template height field is a multiplier of 40 px (e.g. height=2 → 80 px). Default: 200. - Auto-download fonts (
moogento_pickpack/general/auto_download_fonts) - When enabled, PickPack downloads CJK and Thai fonts automatically when needed for PDF generation. Default: No (disabled for security). Fonts are stored invar/moogento/pickpack/fonts/. - Enable: Logging (
moogento_pickpack/general/enable_log) - Writes debug output tovar/log/moogento_pickpack.log. Leave off in production.
Design: Assign PDF Templates for Pick and Pack PDFs
Groups under Stores > Configuration > Moogento > PickPack > Design: Assign PDF Templates control which template and filename each document type uses.
Each sub-group (Invoice, Packing Sheet, Picklist, Zebra, etc.) exposes:
- Template - select from templates managed in PickPack > PDF templates
- Output filename - file prefix for the downloaded PDF
- Include Order ID in filename - appends the order increment ID to the filename
- Add an order comment when creating this PDF? - records a history note on the order when the PDF is generated
Document types available:
- PDF Invoice / PDF Invoice (minimal)
- PDF Credit Memo
- PDF Packing Sheet / (Notes) / (compact) / (minimal) / (fast)
- PDF Order-combined Picklist
- PDF Order-separated Picklist / (filtered)
- PDF Product-separated Picklist
- PDF Order Out-of-stock - also has Trigger below this stock qty to control which items appear
- PDF Address Label
- PDF Zebra Address Label / PDF Zebra Product Label / PDF Zebra Packing Sheet / PDF Zebra Product List
- PDF Returns Sheet
- PDF Order Summary
- PDF Gift Message
Design: Smart Page Backgrounds
Path: Stores > Configuration > Moogento > PickPack > Design: Smart Page Backgrounds (moogento_pickpack/page_backgrounds/list)
Upload one or more background images and define matching rules by order attribute value. When an order matches, its PDFs use that background. Useful for distinguishing VIP orders, gift orders, or different warehouse zones visually. Requires Growth or Pro plan.
Design: Shipping Method Callout Images
Path: Stores > Configuration > Moogento > PickPack > Design: Shipping Method Callout Images (moogento_pickpack/shipping_method_callouts/list)
Upload carrier logos or callout images and map them to shipping method codes. The matching image is automatically printed on documents for orders using that shipping method.
Backend: Button Options
Path: Stores > Configuration > Moogento > PickPack > Backend: Button Options
Controls which PDF action buttons appear on the Order Detail, Invoice Detail, Shipping Detail, and Credit Memo Detail pages. Toggle each button type on or off. Hiding unused document types keeps the admin interface clean for warehouse staff.
Backend: Action Menu Options
Path: Stores > Configuration > Moogento > PickPack > Backend: Action Menu Options
Controls which PDF options appear in the mass-action menus on the Orders, Invoices, Shipments, and Credit Memos grids. Organised into groups: Default actions (Cancel, Hold, Print All), Packing Sheet PDFs, Invoice-related PDFs, Picklist PDFs, Summary & Specialised PDFs, and Zebra-specific PDFs.
Frontend: Customer Profile Options
Path: Stores > Configuration > Moogento > PickPack > Frontend: Customer Profile Options (moogento_pickpack/frontend_customer_account_pdf)
When Allow customers to make PDFs? is set to Yes, logged-in customers can download their own invoice or packing sheet from their account. Toggle individual buttons (PDF Invoice, PDF Packing Sheet) and optionally relabel the native "Print Order" / "Print Invoice" links to "PDF Invoices".
Custom: Integrations Setup
Path: Stores > Configuration > Moogento > PickPack > Custom: Integrations Setup (moogento_pickpack/custom_integration)
Register custom PHP class names for bespoke inventory location, collection location, or POS source data. Used when PickPack needs to pull location or source data from a non-standard inventory system. Provide comma-separated location mappings in the format {PDF Location ID}:{Magento Location ID}.
Advanced configuration
Split picklists by attribute or source
What it does
When Filter/split by Attribute or Source is enabled in the General group, PickPack generates separate picklist PDFs for each distinct attribute value (e.g. brand, warehouse, product type) or inventory source. Each picker only sees the items relevant to their area.
Setup
- Go to Stores > Configuration > Moogento > PickPack > General.
- Set Filter/split by Attribute or Source to
AttributeorSource. - If using Attribute: set Attribute to the product attribute whose values will drive the split.
- Select Filter/split-by-attribute, which PDFs? to choose which picklist templates participate.
- Save config.
Notes
- Requires a Pro plan.
- The
moogento_pickpack/general/pdf_split_bypath controls the split mode. - When splitting by Source, use
moogento_pickpack/general/pdf_split_attribute_options_sourceto select participating templates.
Speedup parallel processing
What it does
When Use Parallel Processing is enabled inside the Speedup group, PickPack forks multiple PHP processes to generate PDF cache entries simultaneously. On a server with spare CPU and memory this can cut batch warmup time significantly.
Setup
- Confirm the server has PHP's
pcntlextension installed. - Go to Stores > Configuration > Moogento > PickPack > Backend: Speedup.
- Enable Speedup, then set Use Parallel Processing = Yes.
- Set Parallel Processing Chunk Size (orders per fork, default 5) and Maximum Parallel Processes (default 4).
- Save config.
Notes
pcntlis not available on all hosts - check with your hosting provider.- Start with the defaults and increase chunk size gradually while monitoring server load.
- The
moogento_pickpack/speedup/use_parallel_processingpath controls this feature.
Barcode configuration
What it does
PickPack can embed barcodes in any PDF template. The barcode format and size are controlled globally in General, while individual template fields set the barcode token and height multiplier.
Setup
- Go to Stores > Configuration > Moogento > PickPack > General.
- Check Server: Barcode Requirements - you need either GD or Imagick installed.
- Set Barcode: Output Format - Auto is recommended (SVG with PNG fallback).
- Set Barcode: Maximum Height (px) - raise above 200 only if your templates use high height multipliers.
- In the PDF template editor (PickPack > PDF templates), add a barcode column and set its height multiplier (1 = 40 px, 2 = 80 px, etc.).
Notes
- SVG barcodes are crisp at any print resolution; PNG barcodes depend on GD or Imagick quality.
- If barcodes appear stretched or missing, re-check the Barcode Requirements panel in the General config.
- The
moogento_pickpack/general/barcode_formatandmoogento_pickpack/general/barcode_max_heightpaths control global barcode settings.
Tips & best practices
- Start with the Packing Sheet (fast) template type for Speedup - it is optimised for cache warmup and is the default.
- Set Print once? to Yes for invoices and packing sheets to prevent duplicate printing when re-running a batch that was partially completed.
- Keep Auto-download fonts disabled in production unless you actively need CJK or Thai character support - it prevents unexpected outbound connections.
- Use Add an order comment when creating this PDF? on all document types so your order history shows when each document was generated and by whom.
- If date/times on PDFs are offset from your local time, set the Date format: Timezone field in General rather than changing your server timezone.
- Assign meaningful filename prefixes (e.g.
inv_,ps_,pick_) and enable Include Order ID so archived PDFs are easy to search by order number. - To clean up the Orders grid action menu for warehouse staff, disable the standard Magento PDF options (PDF Invoices, PDF Shipments, PDF Credit Memos) using the toggle in Backend: Action Menu Options and leave only the PickPack variants enabled.
- When using Zebra labels, set up a dedicated Zebra template with the correct label dimensions before assigning it in Design: Assign PDF Templates.
Troubleshooting
Barcodes do not appear on PDFs
- Cause: Neither GD nor Imagick is installed on the server.
- Check the Server: Barcode Requirements panel at Stores > Configuration > Moogento > PickPack > General. Install GD or Imagick, then restart PHP-FPM.
Barcodes appear very tall or very short
- Cause: The template height multiplier does not match the Barcode: Maximum Height (px) cap, or the multiplier value is set too high.
- In General, raise Barcode: Maximum Height (px) to accommodate your multiplier (height multiplier × 40 must not exceed the maximum). In the PDF template editor, adjust the barcode column's height multiplier.
PDFs contain garbled characters or missing text for international orders
- Cause: The required font (CJK, Thai, etc.) is not installed.
- Enable Auto-download fonts in General temporarily to download the font, or manually place the font file in
var/moogento/pickpack/fonts/. Disable auto-download again once the font is present.
Batch print jobs are slow
- Cause: PDFs are being generated on demand for every order in the batch.
- Enable Speedup (see Speed up batch printing with Speedup caching) and ensure Magento cron is running. Click Process Recent Orders in the Speedup config to warm the cache immediately.
PDF dates show the wrong time or timezone
- Cause: Server timezone differs from store timezone.
- Set Date format: Timezone in Stores > Configuration > Moogento > PickPack > General to your local timezone string (e.g.
America/New_York,Europe/London).
"Print once" is not preventing re-printing
- Cause: The PDF type is not selected in the Select PDFs for 'Print once' multi-select.
- At Stores > Configuration > Moogento > PickPack > General, set Print once? = Yes and then select the specific document types you want to lock in the Select PDF's for 'Print once' field.
FAQs
How do I print packing sheets for multiple orders at once?
Select the orders in Sales > Orders, open the Actions dropdown, and choose the packing sheet option you want - for example, PDF (Packing Sheet) or PDF (Packing Sheet - Fast). Make sure those actions are enabled in Stores > Configuration > Moogento > PickPack > Backend: Action Menu Options > Orders first.
Can I use a barcode scanner to verify items during picking?
Yes - PickPack can embed barcodes (order number, SKU, or any supported token) on picklist and packing sheet templates. Your scanner reads the barcode from the printed sheet. PickPack generates the documents; the scanner hardware is separate and can be any standard USB or Bluetooth barcode reader.
Does PickPack work with Picknscan?
PickPack generates the warehouse paperwork (picklists, packing sheets, labels) and Picknscan handles scan-to-verify workflows - the two complement each other. PickPack's combined and separated picklist formats are the source documents a Picknscan-style workflow verifies against.
How do I get my logo on the PDFs?
Upload your logo inside the template editor at PickPack > PDF templates, then assign that template to the document type you want at Stores > Configuration > Moogento > PickPack > Design: Assign PDF Templates.
Can customers download their own invoice PDFs?
Yes - enable Allow customers to make PDFs? and Customer: PDF Invoice button? at Stores > Configuration > Moogento > PickPack > Frontend: Customer Profile Options. Customers will see a download button in their account order history.
Will PickPack work with Hyvä, Luma, and Porto themes?
PickPack's PDF generation and admin UI are fully backend-driven and theme-independent. The optional customer-facing buttons in the account area are compatible with Luma and Porto; a Hyvä-specific template snippet may be needed for those frontend buttons on Hyvä storefronts - contact support if you need the snippet.
What happens if I disable PickPack?
Disabling PickPack removes its admin buttons and action menu options, and reverts to Magento's built-in PDF printing. No order data or templates are deleted; re-enabling the module restores everything.
How many PDF templates can I create?
There is no enforced limit on the number of templates. Create as many as you need, then assign different templates to different document types in Design: Assign PDF Templates.
Which plan do I need for the picklist split feature?
The Filter/split by Attribute or Source feature requires a Pro plan. Invoices, packing sheets, and basic picklists are available on all plans.
Why are my PDF totals showing the wrong currency?
If your orders are placed in a currency different from the store base currency, enable show_base_currency on the totals component in the template JSON to display base-currency amounts. When show_exchange_rate is also set to true, an exchange-rate line is appended to the totals section.
Related guides
- ShipEasy - carrier rate management and label generation that feeds shipment data into PickPack documents
Need help?
- moo@moogento.com
- Include:
- Magento version
- Module name
- What you're trying to do